This tutorial presents a DIY approach to building your own smart doorbell using an ESP32 cam module, thus offering a more private alternative to mainstream video doorbell products that typically violate users' privacy. By leveraging the ESP32 cam board, a cost-effective microcontroller with built-in camera capabilities, you can create a doorbell that captures photos and sends them directly to your email when the button is clicked. This solution bypasses the need for third-party cloud storage, keeping your data in your hands and offering a significant advantage in terms of privacy.
This tutorial builds on what you learned in the tutorial Your First Xedge32 Project.
Not only does this DIY project empower you with control over your own data, but it also opens up a world of customization options, allowing you to tailor the functionality to your specific needs and preferences. Whether you're a hobbyist looking for your next project or a homeowner concerned about privacy, this tutorial will guide you through creating a smart doorbell that respects your data and offers the convenience and security you need.
This hands-on tutorial includes ready-to-use source code!
Integrating an ESP32 cam board into your home security system offers the cutting-edge ability to stream real-time images directly to a browser within the same home network. This setup is perfect for on-the-spot monitoring. However, it poses a significant limitation: accessing your camera's feed outside your local network can be challenging, if not impossible, without complex configurations or compromising security.
Alternatively, one might consider publishing the CAM images to a public MQTT broker on the Internet. This method does indeed facilitate remote access but opens up a Pandora's box of privacy concerns. Publishing to a public MQTT broker means anyone can subscribe to your CAM images, turning your private surveillance into a public broadcast.
Given these considerations, the seemingly "old school" method of sending CAM images via email emerges as the perfect solution. Email allows you to receive timely updates about who's at your door, no matter where you are. While it's true that you won't be able to engage in a conversation with your visitor through this method, the primary objective remains achieved: you can see who rang the doorbell, ensuring security and privacy remain uncompromised.
For those interested in exploring the other methods mentioned, we provide tutorials on streaming CAM images to browsers and publishing CAM images using MQTT. These guides offer deeper insights into each approach, allowing you to decide based on your needs and concerns. The code in this tutorial can be used as-is, but combining this code with the two other alternatives is possible.
The Lua code below is all it takes to send emails with inline CAM image attachments, but it requires the Xedge32 Lua IoT Foundation. Follow these steps to prepare your ESP32:
After completing these steps, your ESP32 cam can use the Lua code below to send email notifications with CAM images.
1 2 3 4 5 6 7 8 9 10 11 12 13 14 15 16 17 18 19 20 21 22 23 24 25 26 27 28 29 30 31 32 33 34 35 36 37 38 39 40 41 42 43 44 45 46 47 48 49 50 51 52 53 54 55 56 57 58 59 60 61 62 63 64 65 | local buttonGpioPinNumber=1local toAddress = "" -- Add destination address-- Settings for Seeed Studio XIAO ESP32S3 Senselocal cfg={ d0=15, d1=17, d2=18, d3=16, d4=14, d5=12, d6=11, d7=48, xclk=10, pclk=13, vsync=38, href=47, sda=40, scl=39, pwdn=-1, reset=-1, freq="20000000", frame="HD" }local cam,err=esp32.cam(cfg)if not cam then trace("Cannot open cam",err)endfor i=1,3 do -- Skip first 3 frames; sensor will adjust the white balance local img,err=cam:read() if not img then trace("Reading cam failed",err) endendlocal function sendmail() xedge.sendmail({ to=toAddress, subject="Doorbell", htmlbody=[[ <html> <body> <h1>Door Cam Image</h1> <img src="cid:image-id" alt="Door Cam"> </body> </html> ]], htmlimg = { id="image-id", name="door.jpg", source=cam:read() }, }, function(ok,err) trace("Sending email:", ok and "OK" or err) end)endlocal function cfgButton(pin,cb) local cfg={ pulldown=true, type="POSEDGE", callback=cb } return esp32.gpio(pin,"IN", cfg)end local button=cfgButton(buttonGpioPinNumber, function() trace"Doorbell Button" sendmail()end)function onunload() trace"Stopping CAM Doorbell App" cam:close() button:close()endtrace"Starting CAM Doorbell App" |
To use the above code, wire a button to GPIO one or use another GPIO and change code line 1 above. Create an Xedge32 application, set the destination email address (line 2), and save the file. If you are new to Xedge32 and need more information on how to create an application, see the article Your First Xedge32 Project.
Note that the above Lua code is configured for the XIAO ESP32S3 Sense CAM board. If you are using a different cam board, you must change the cam settings.
The function xedge.sendmail() was introduced in the SMTP Configuration Tutorial, and the function cfgButton() is explained in the tutorial Your First IoT Project.
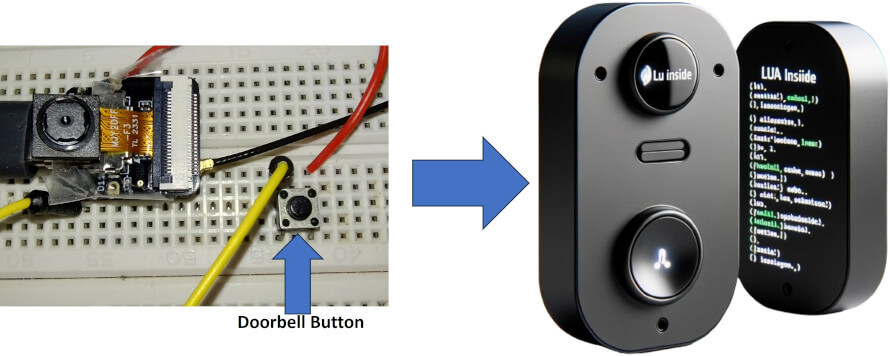
Did you get multiple emails when clicking the button one time? When using physical buttons in your projects, you might encounter a phenomenon known as button bounce. The tutorial Your First IoT Project shows how to fix this using a timer. This tutorial also includes wiring instructions for the button used in this project. See this tutorial's two sections, Hardware Setup and Button Code Design and Testing, for more information.
Congrats on completing the tutorial! Don't pause here - forge ahead and deepen your understanding of network and IoT-enabled embedded systems with our Xedge32 tutorials.