How to Connect Third-Party Clients
In this tutorial, we will show how to use third-party OPC UA clients when connecting to our OPC UA server.
We use the OPC URL opc.tcp://localhost:4841 in the following tutorial. This URL is the one exported by the Demo Server.
You may connect to the OPC UA Demo Server with any OPC UA client. We are using the following clients in this tutorial:
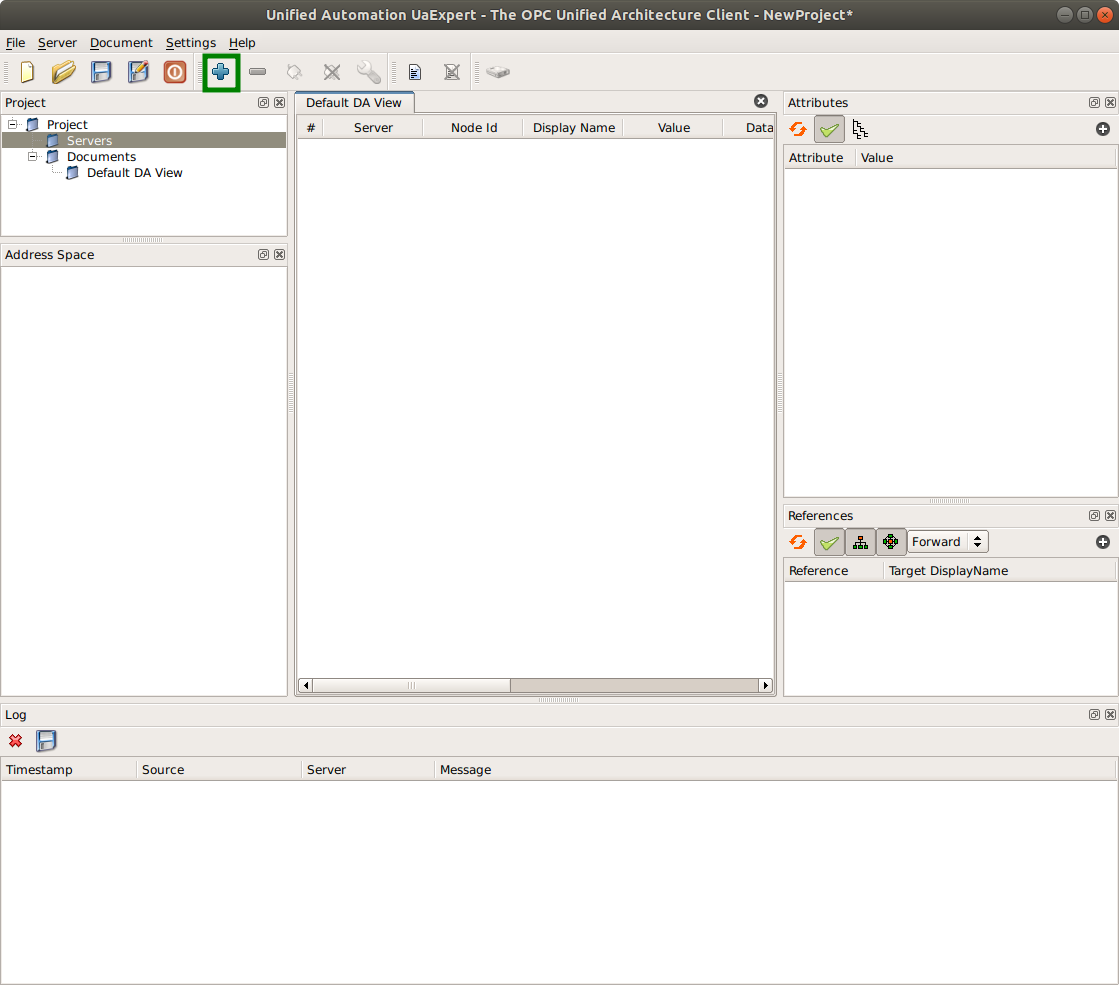
UAExpert
After starting UAExpert, click on the plus icon button.
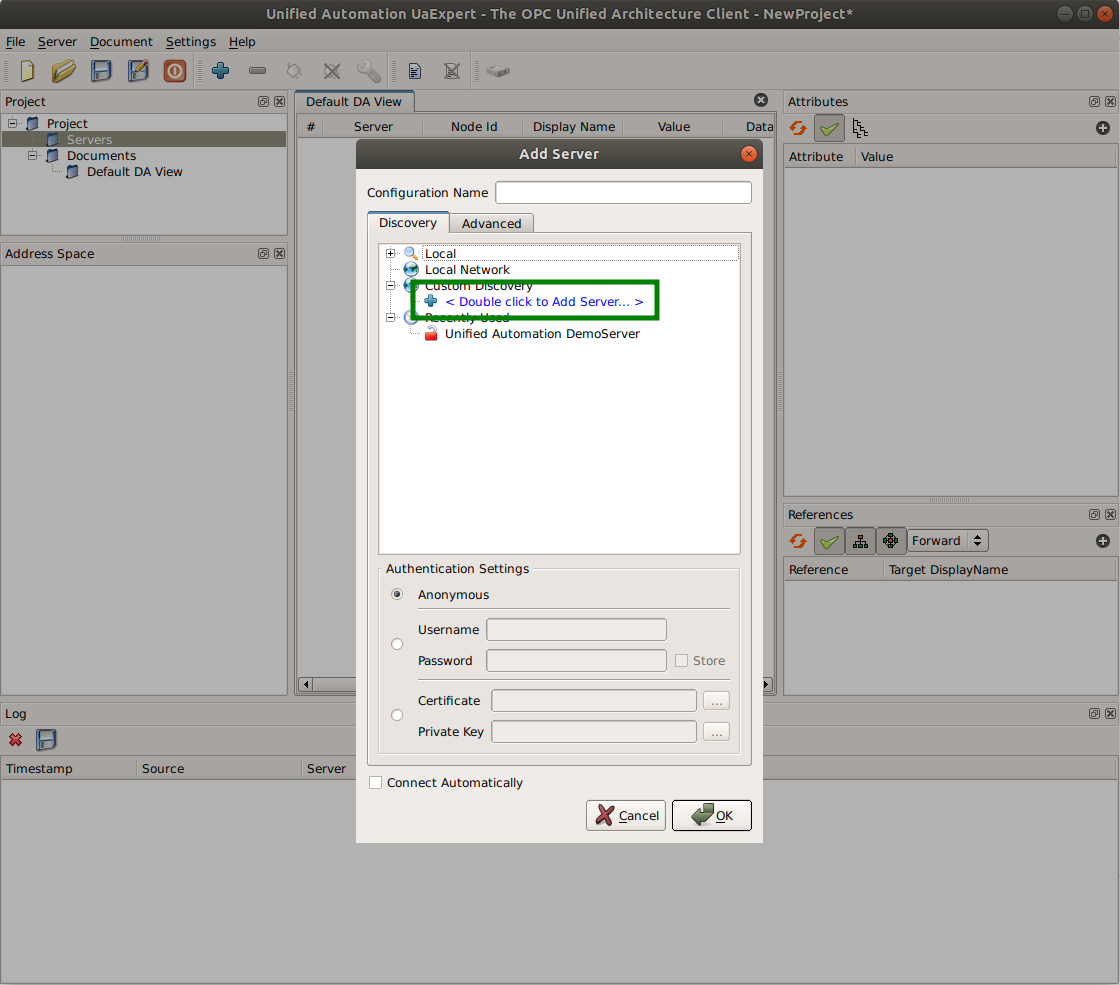
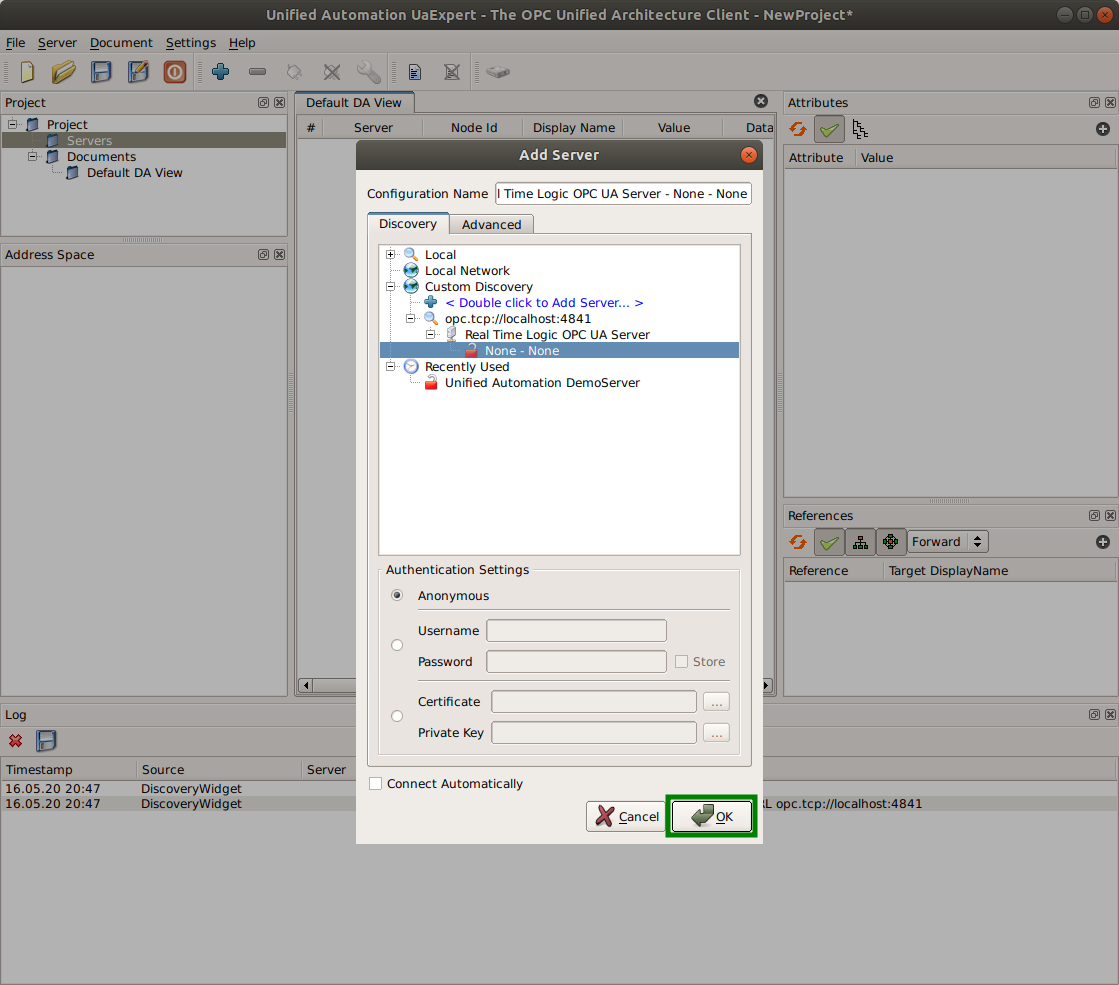
Double click Double click to Add Server in the popup window.
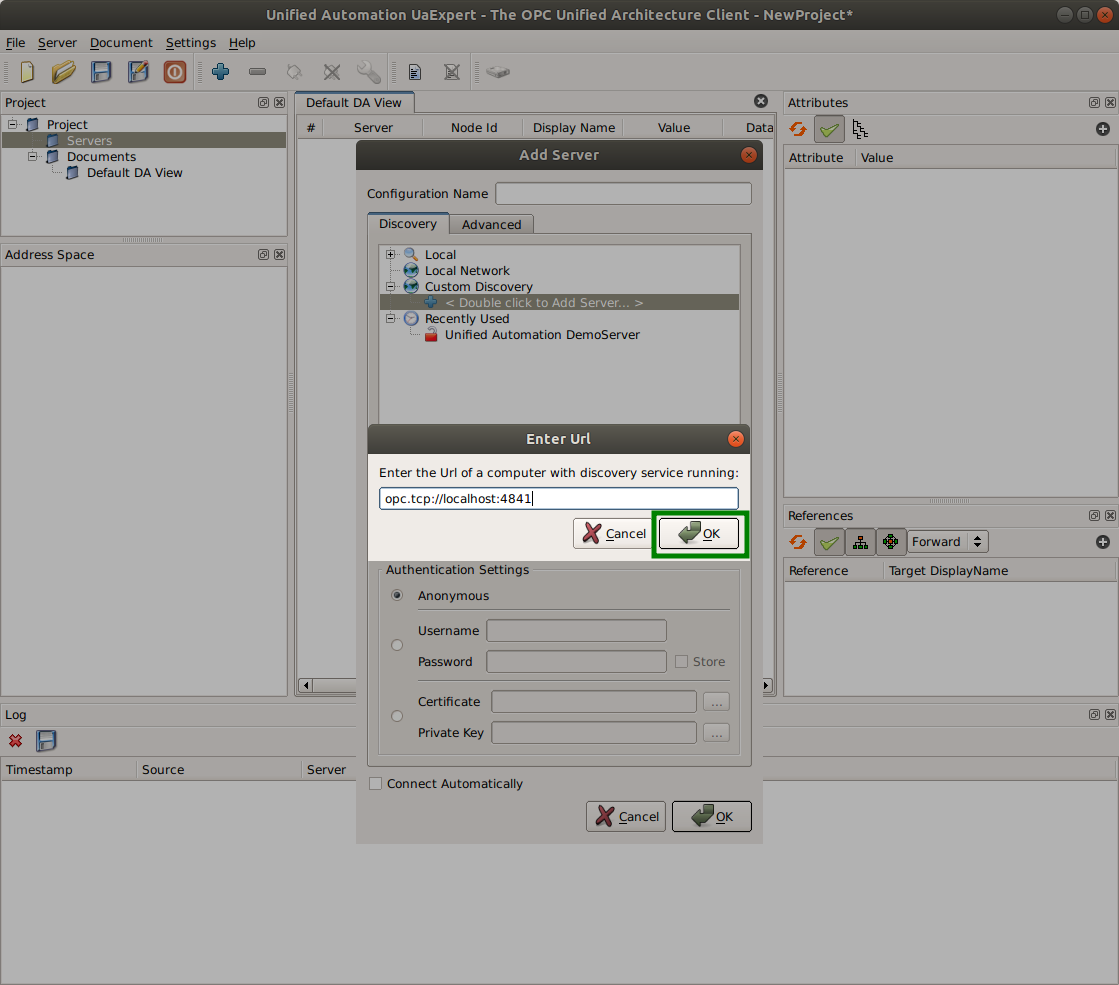
Enter endpoint URL opc.tcp://localhost:4841 and click OK.
Expand the subtree under endpoint URL, select None - None, and click OK.
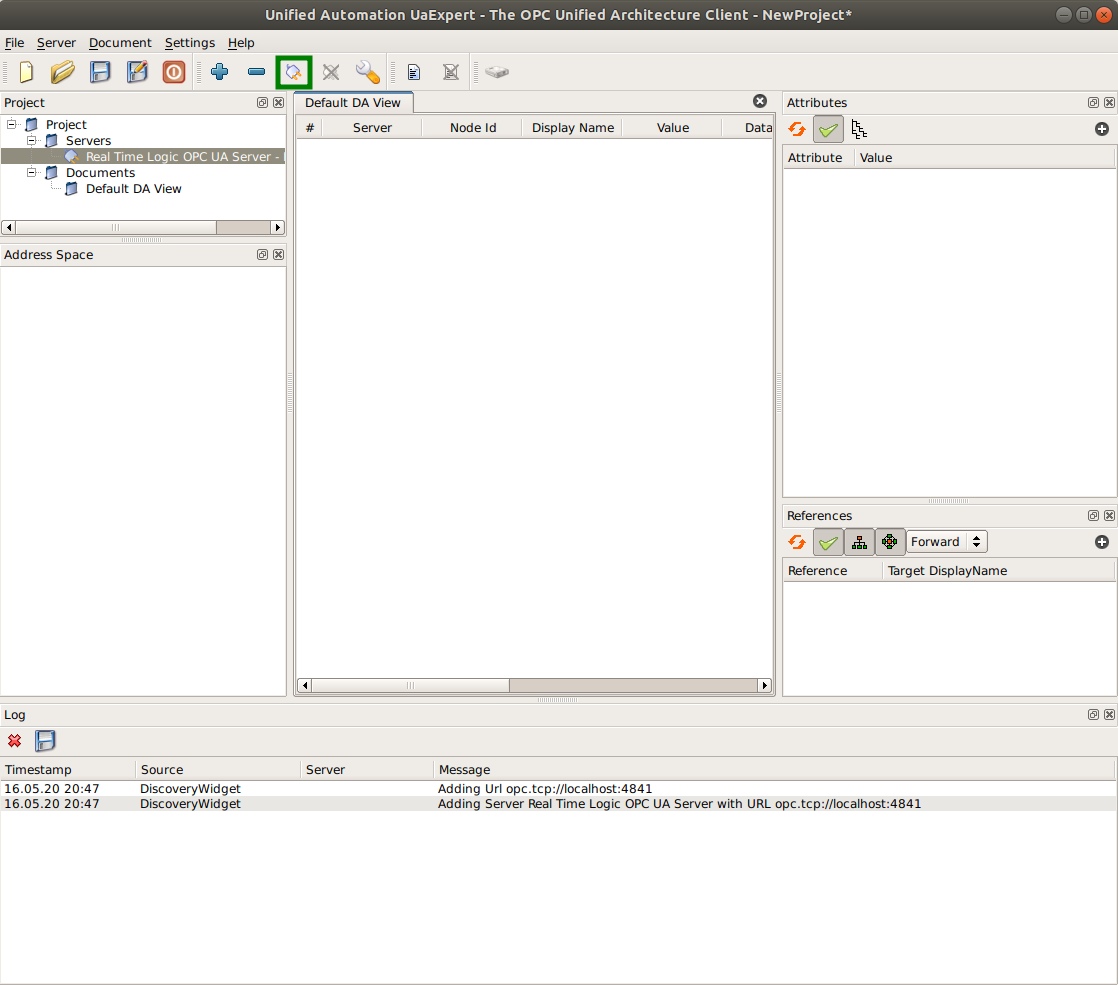
The left pane shows the OPC UA server name. Connect to the OPC UA server by clicking on the connect icon as shown in the following screenshot.
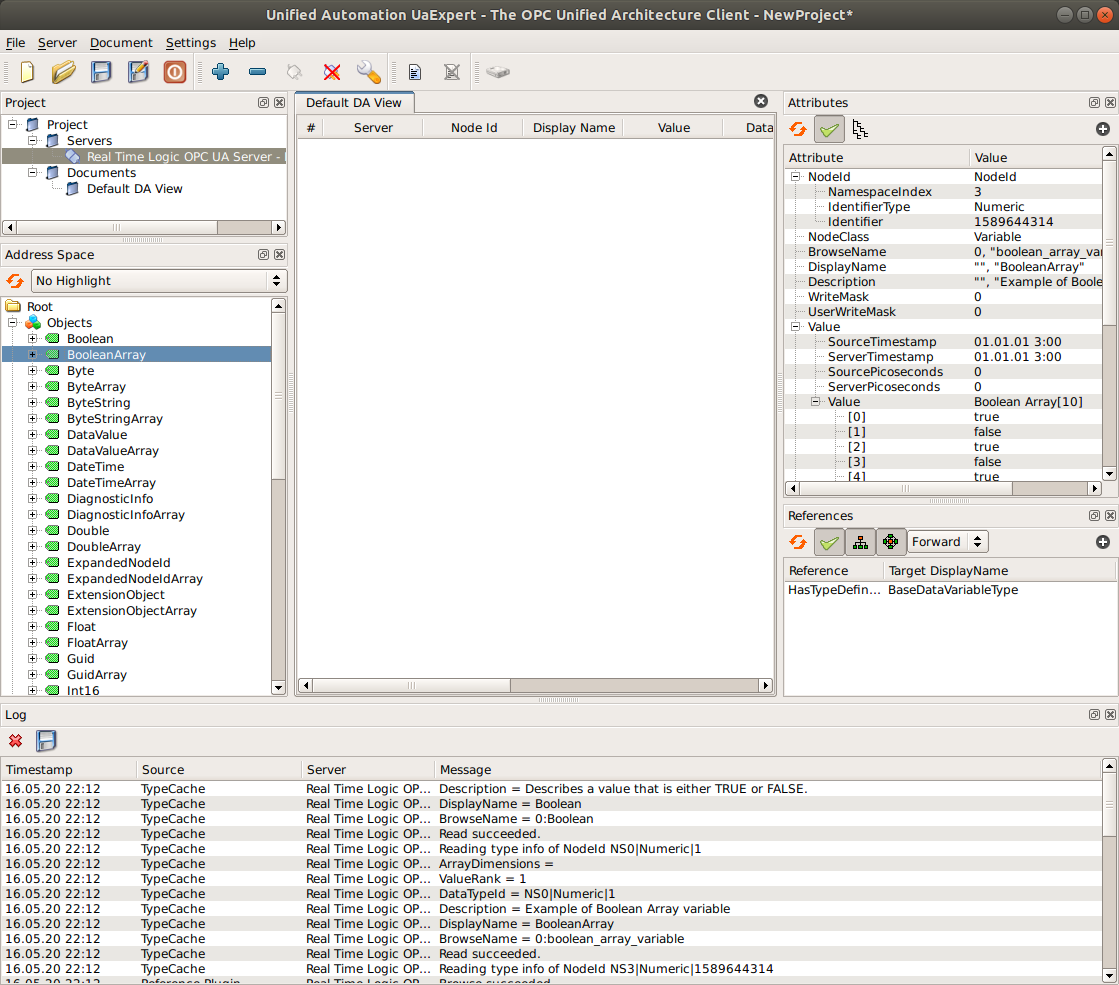
The address space is shown in the left pane after connecting. The right pane and the upper pane shows attributes of selected node.
ProSys OPC UA
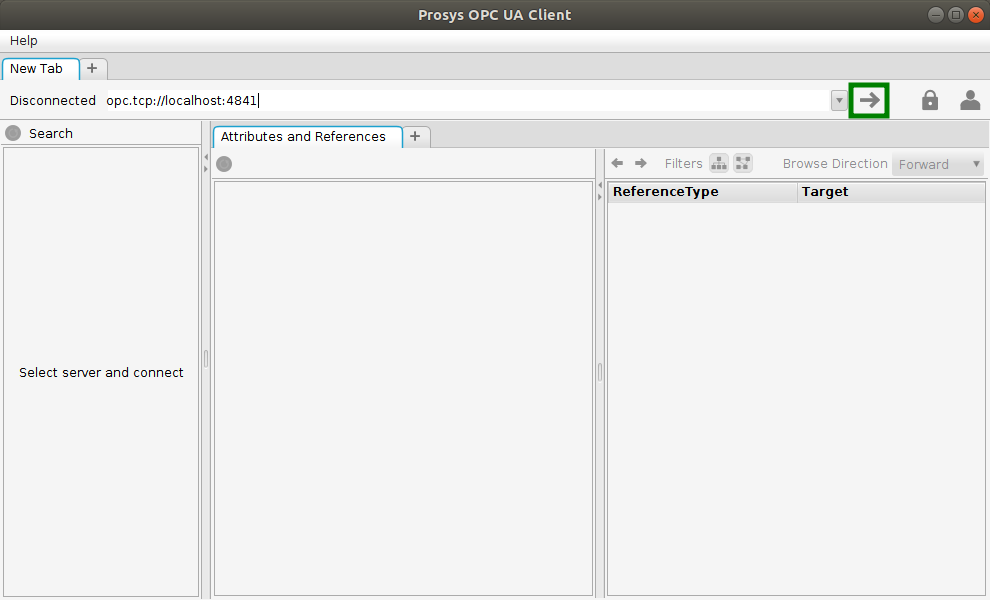
Start the ProSys OPCUA client application. Enter Endpoint URL and click on the arrow icon.
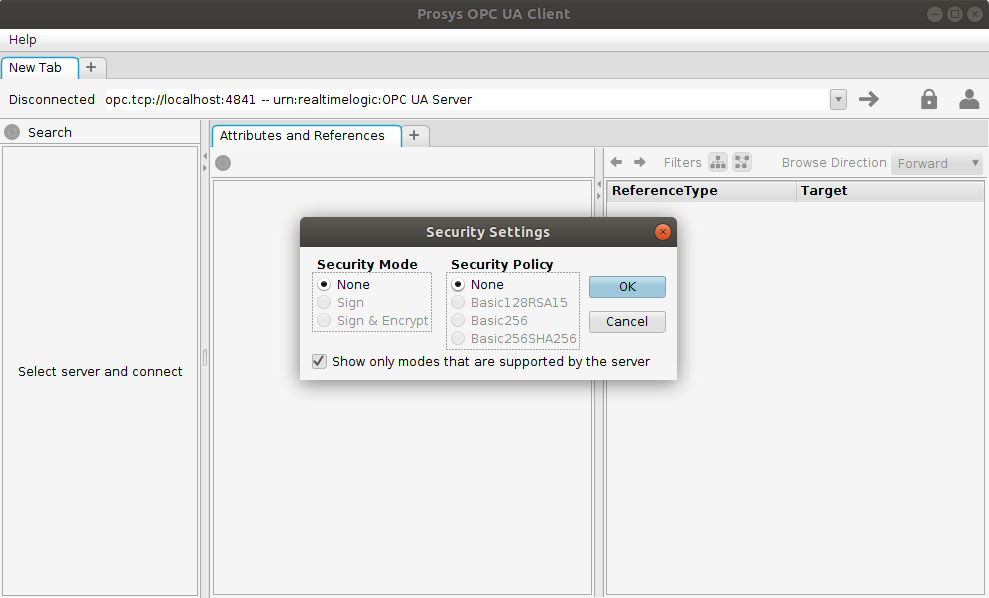
The following screenshot shows the popup that appears after clicking the arrow icon. Select security mode None and security policy None. Click OK.
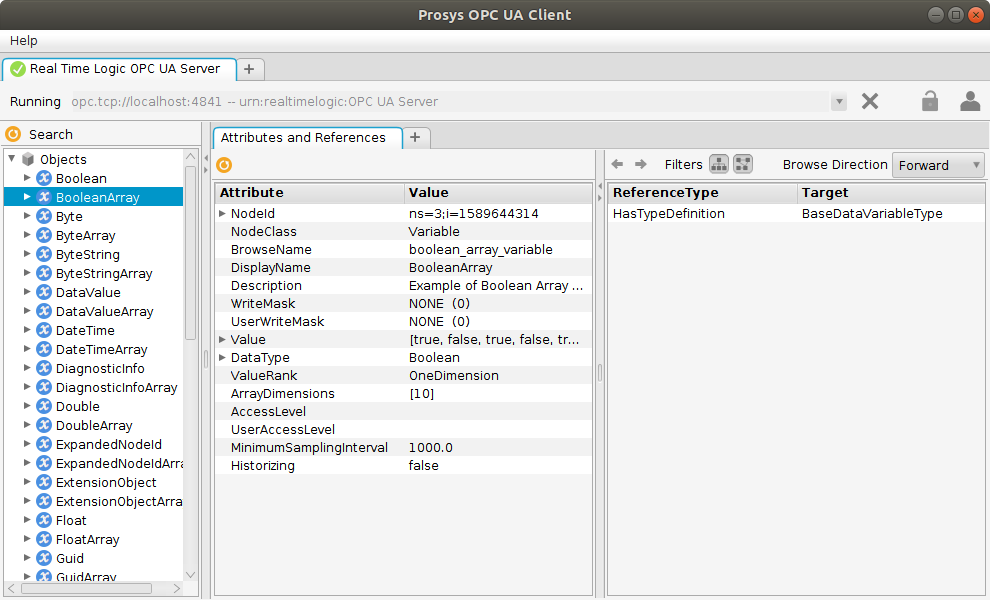
The address space is shown in the left pane after connecting. The middle pane shows attributes of selected node and the right pane shows references of selected node.
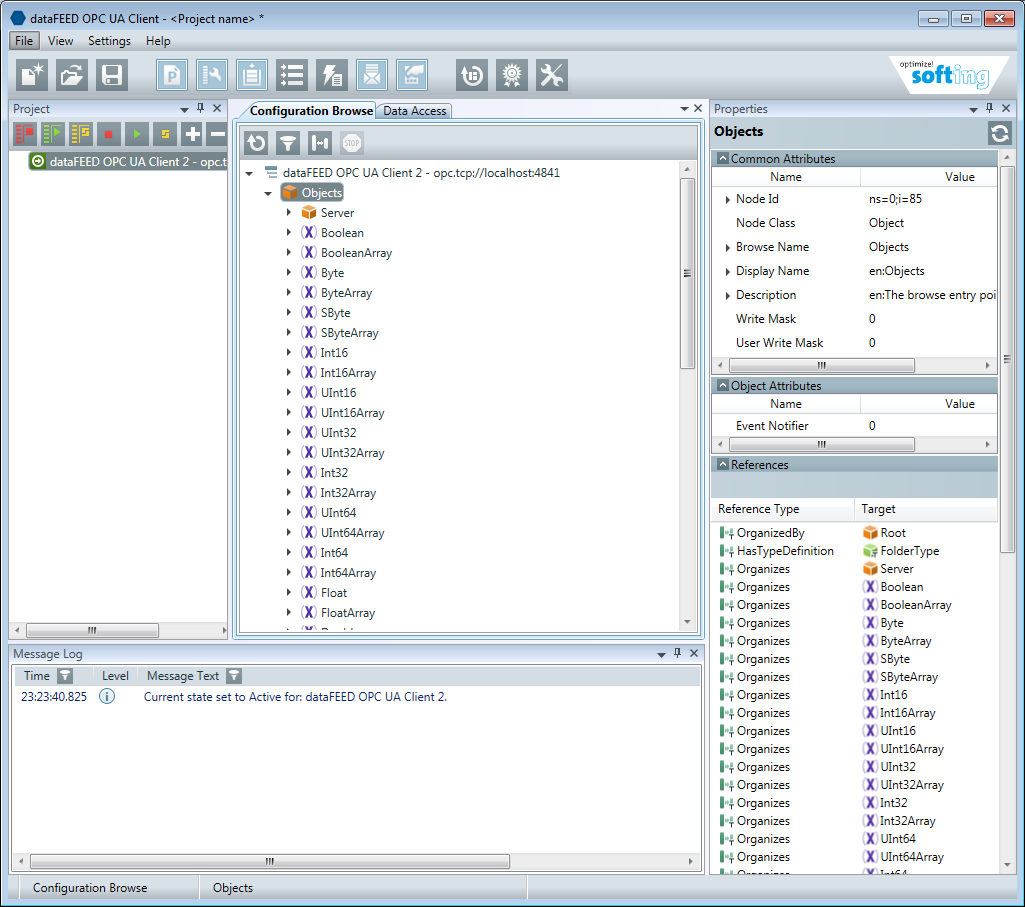
dataFEED OPCUA
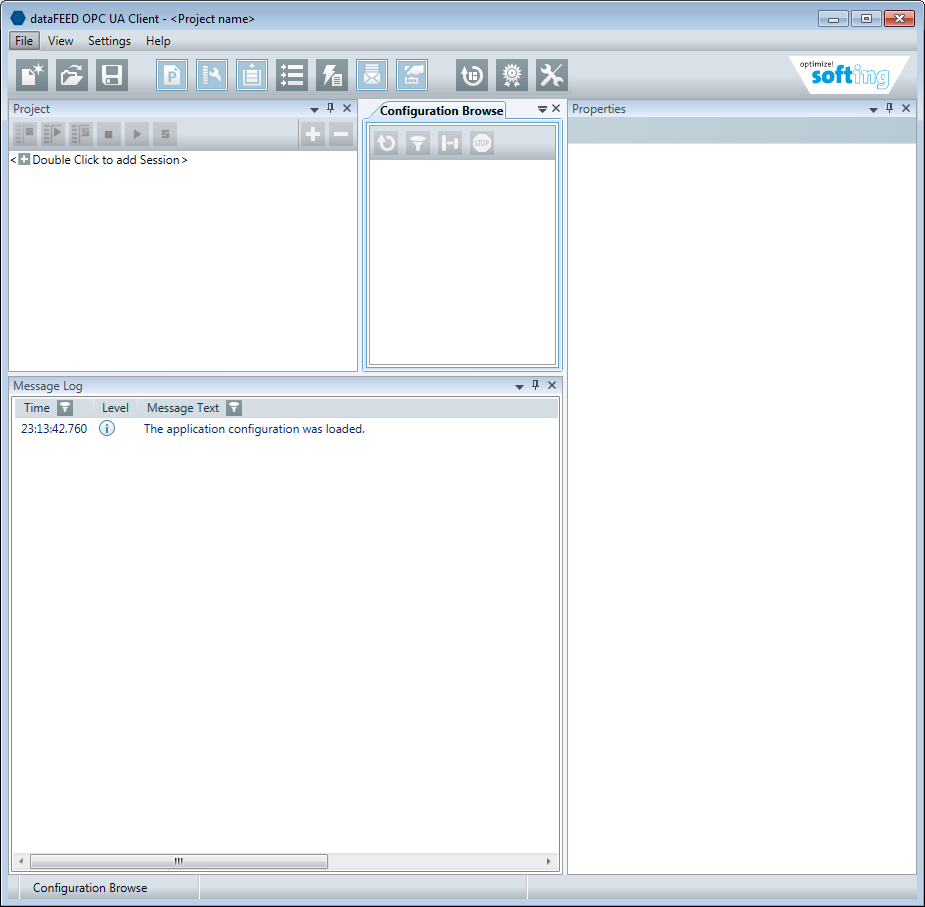
Start the dataFEED OPC UA client
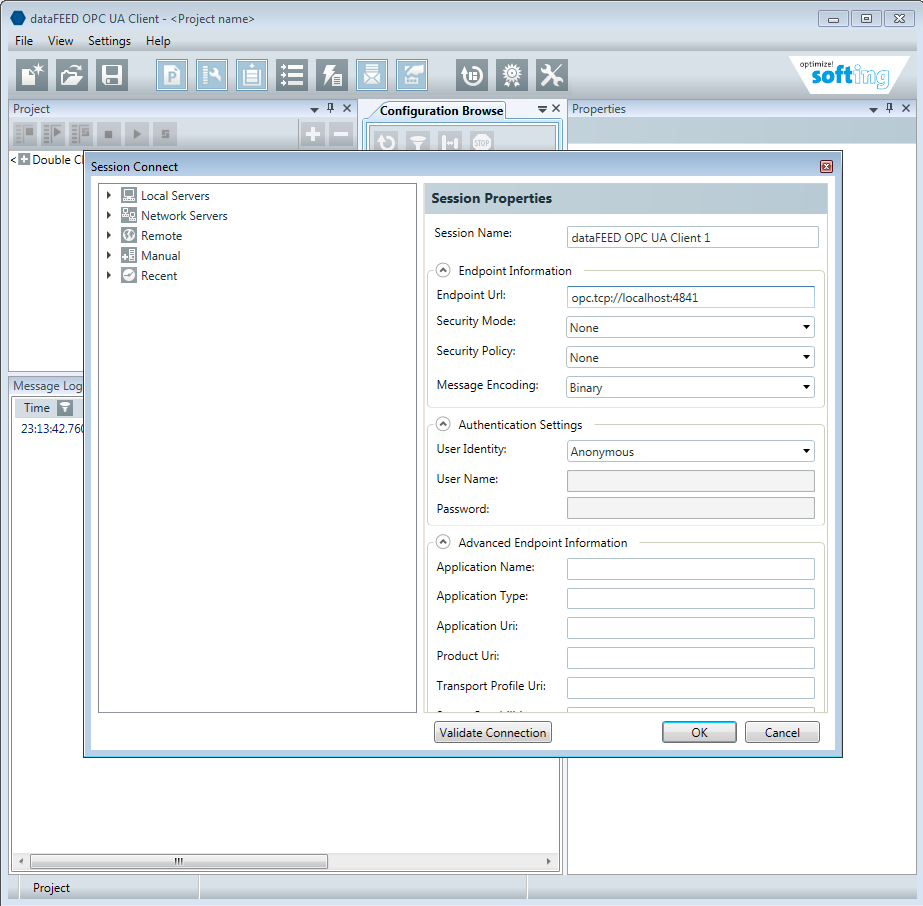
Double click to add session. Add the following Endpoint URL in the popup window:
opc.tcp://localhost:4841 and click OK.
After connecting, the middle pane shows the Address Space tree and the left pane shows the attributes of the selected node.